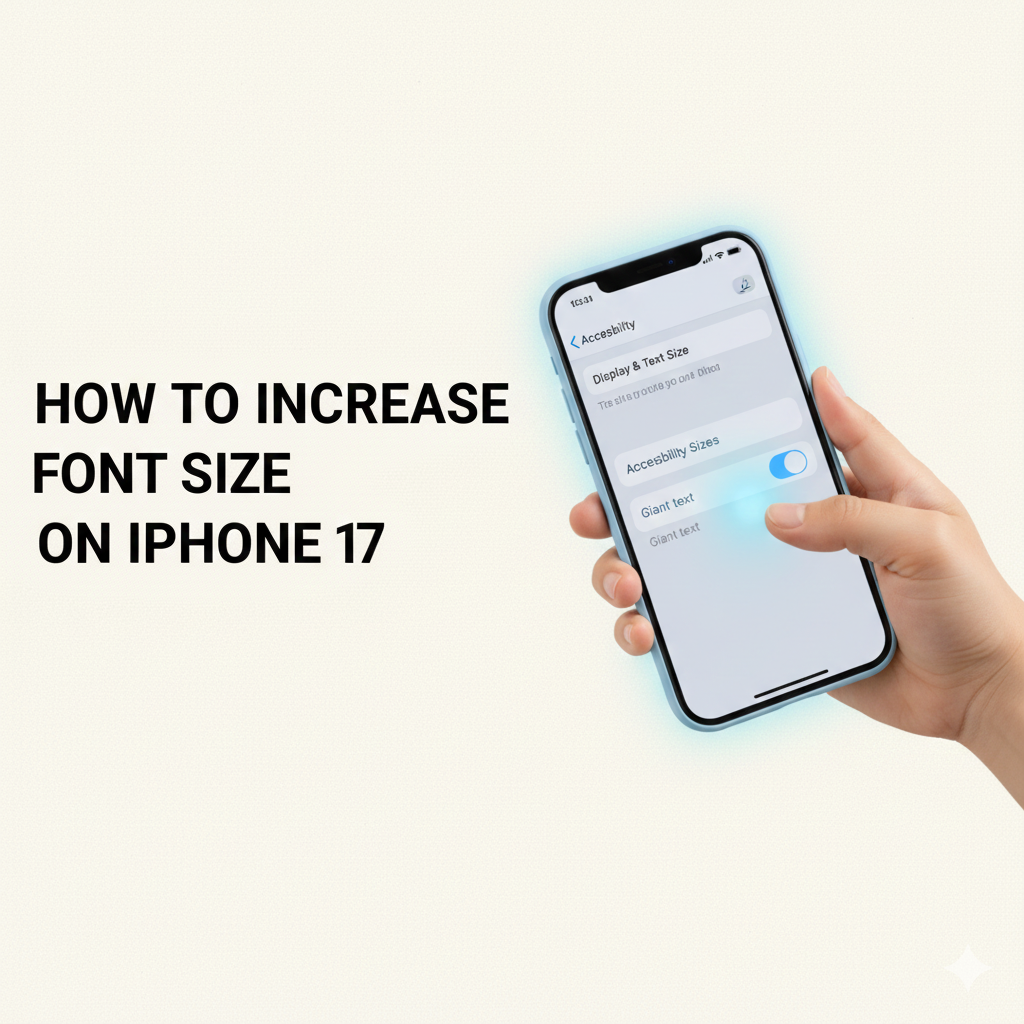
Stop Squinting! The 2-Minute Fix to Make Text BIGGER on iPhone 17
If you just upgraded to the impressive iPhone 17 and find the default text size is making you squint, you are definitely not alone. It’s an exciting phone, but for many, the small font can make everything from reading emails to checking directions frustrating. Fortunately, you don’t need a third-party app to fix this! The latest iOS 27 operating system on your new phone gives you two powerful, built-in tools to adjust the font: a quick-fix slider for most users, and a secret setting for those who need truly massive text. This step-by-step guide will walk you through the process, ensuring your iPhone 17 screen is perfectly readable in under two minutes.
🚀 Method 1: The Quick Fix Using the Accessibility Slider
For 90% of users, this single setting is all you need. It adjusts the text size across almost all standard apps that are built to follow Apple’s design guidelines. This feature is known as “Dynamic Type” and ensures your text resizes responsibly without breaking the layout of the app.
Here is how to adjust the font size on your iPhone 17:
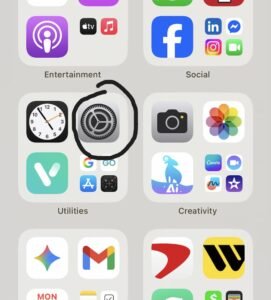
1 . Open Settings: Tap the gray Settings app icon on your Home Screen.
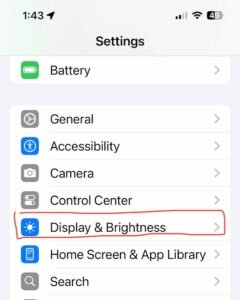
2 . Navigate to Display: Scroll down and tap on Display & Brightness.
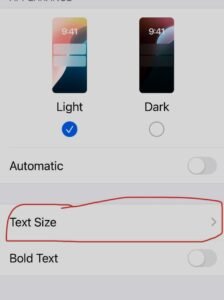
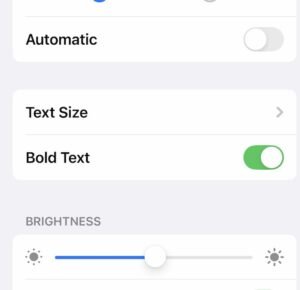
3 . Find the Text Options: In the Display menu, find and tap on Text Size.
4 . Adjust the Slider: You will see a slider at the bottom of the screen.
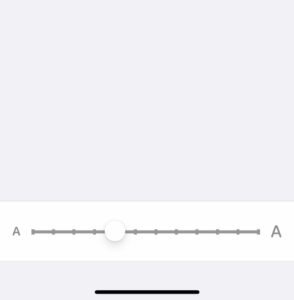
5 . Drag the slider to the right to increase the text size.

As you move it, the sample text above will change instantly, giving you a live preview of the size.
Review Changes: Exit the Settings app and check a few apps (like Mail or Messages) to see if the new size is comfortable.


If you want a slightly bolder font to go along with the increased size, simply return to the Display & Brightness menu and toggle the Bold Text switch ON.
🚀Method 2 : Going Even BIGGER: Unlocking Larger Accessibility Sizes
If the maximum size on the standard Text Size slider isn’t quite large enough, Apple provides an advanced accessibility toggle that unlocks five additional, enormous text sizes. This is perfect for users with moderate to severe visual impairments.
Navigate to Accessibility Settings
The path is slightly different for the largest sizes, as they live in a dedicated accessibility menu:
1 . Open Settings (the gray gear icon).
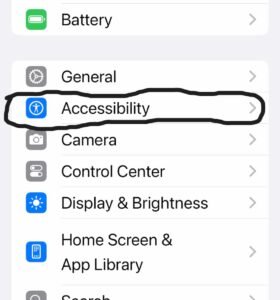
2 . Scroll down and tap on Accessibility (the icon of a person in a circle).
Enable the Largest Range
This is the crucial step that unlocks the new options:
3 . Tap Display & Text Size.
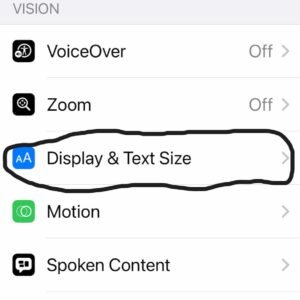
4 . Tap Larger Text.
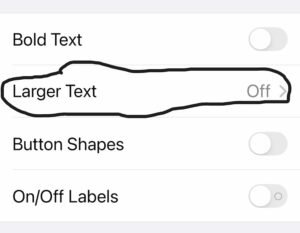
5 . Look at the top of the screen and toggle the switch for Larger Accessibility Sizes to the ON (green) position.
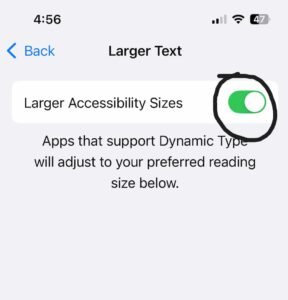
💡 Note: Enabling this will dramatically increase the size range of the slider at the bottom of the screen. In some apps, text may overlap or be difficult to read at the very top settings, so adjust carefully.
Set Your Maximum Size
Use the slider at the bottom of the screen.
6 . Drag the slider all the way to the right to access the AX1, AX2, AX3, AX4, and AX5 accessibility sizes.
Select the new size that is most comfortable for your reading needs.
Your chosen size will be instantly applied across all system apps, including Mail, Messages, Calendar, and Notes, ensuring everything is maximally legible.